The Inked Stamper-An evening of classes!!!


REMEMBER IT IS NEVER OK TO COPY OR MAKE A REPRODUCTION OF SOMEONE ELSES WORK/CREATION UNLESS YOU HAVE ASKED FOR PERMISSION.
I do not give permission for reproduction or recreation of my artworks or creations. Thank you all for respecting this.

Friday, March 8, 2019

PART TWO:

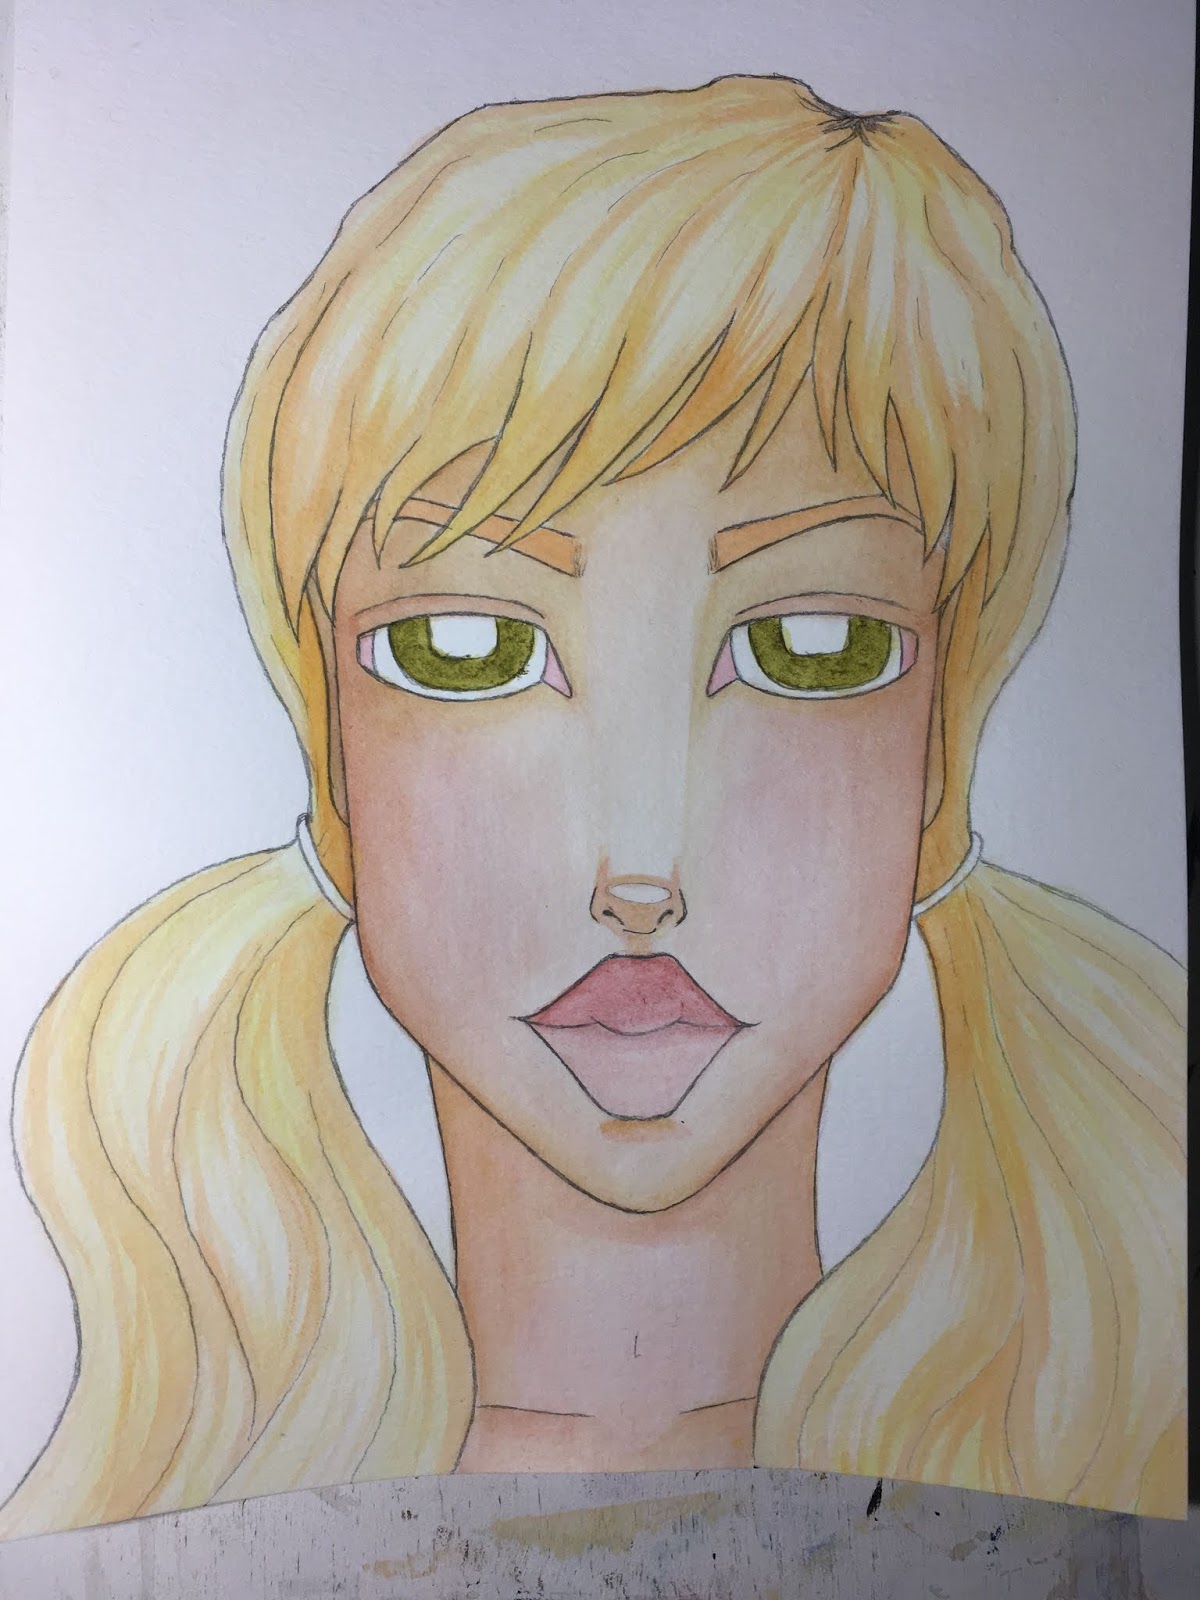
So part two of the comparison. So this time I used Tim Holtz distress crayons! I color matched the products the best I could. They have similar colors but definitely different results. I honestly found these a pain in the butt to use on there own, although this could be due to using them on a large area as opposed to a tag or a card. They were quite fast drying. They definitely didn’t blend as well as the gelatos! I found them almost gritty. They are more vibrant in color compared to the gelatos though, even the lightest colors are more vibrant. I did like the fact that they were faster drying when it came to the hair though! At this point I’m thinking gelatos for the skin and distress crayons for the hair! They aren’t too bad but if you are going to use them on there own I recommend working quickly and wetting your paper first to get better blending on your first layer!

Tim Holtz distress crayons - photos start to finish


Monday, March 4, 2019

So I have decided to do a three part post of a product comparison. I’ve had people ask me about these three products. Although I have all three products, I have never just used them on a project! So the three products are: #1 Faber Castell gelatos. #2 Tim Holtz distress crayons. #3 Jane Davenport colorstick. All work well when I’m doing mixed media but let’s see how they hold up on there own!

PART ONE:

I sketched out one of my girls, then used my light board to replicate her two more times so I had three exact copies to paint with all three products. I used Canson XL watercolor paper cold press 140. Since they are water soluble I wanted to use them like watercolor to see what the result would be!

These weren’t too bad to work with on there own. If you are looking for a nice soft look then these will do that, they are quite translucent so it took a lot of layers to build up color. This leads to one of the problems. After so many layers the paper pills. I had to do tons of waiting and drying to achieve this look and the paper still pilled. I did not like that. I found that they were easily moved but wanted to gob up in areas. I found it was a lot of work to try and make them blend effortlessly. I could see where a beginner could become extremely frustrated with them! I did like the result though, very soft and pretty. If you are going to use them this way be VERY patient!


Faber Castell gelatos - start to finish in pictures


Thursday, February 21, 2019

Hi all, it’s been so long since I’ve posted on here. I have been concentrating on my art for sometime now and I’m loving it! Here’s a fun exercise to try! Get your paper wet and use watercolor or ink and drop the colors randomly onto the page. When it is dry try and see a picture in the blotches and bring it to life in whatever mediums you choose! For mine I used ink, watercolor, pencil crayon, posca pens and much more! Remember to have fun, the exercise is meant to relax you and to just have fun with your art!


Wednesday, November 30, 2016

Wow it has been quite sometime since I have been on here. LIFE....sometimes it just gets in the way! There has been a lot of changes in my life, a lot of ups and downs and I have seemed to have drifted away from my creative side and I think it is time to get back to one of my greatest passions and that's art. Art in any form is simply amazing, and such a great form of expression! I have several projects I want to start so get ready to see some new ideas and new projects and maybe a few new tips and tricks that others will be able to use :)

Thursday, November 22, 2012

Wall Sugar November Design Team Project - Christmas Spirit

 
Wall Sugar November Design Team Project - Christmas Spirit


MERRY CHRISTMAS EVERYONE!!!!.....oh wait it’s only November J but that’s alright Christmas is right around the bend. So when I received my Wall Sugar piece this month all I could think of was the Holidays! The possibilities were limitless with the Wall Sugar Co frame that I used.

So I started with the bare base (Wall Sugar Co Frame – Item# WSC109 12x24 frame)
I started my project by painting the outer edges and the inner edges of the plaque with Tim Holtz Distress Crackle Paint in Antique Linen. I wanted a very vintage, nostalgic Christmas project, and crackle paint adds that extra little flair. I know many of you are unsure of how to use crackle paint or you have had terrible luck when using it, but like anything it has a little bit of a trick to it. To make a good crackle you need to try and make a nice thick base with it. Try not to do layers, try to do one thick smooth coat. When you apply more than one coat it doesn’t dry evenly or it dries and cracks, but you are recovering it with each layer and then eventually you can end up with a very undesirable effect or worse case, no crackle at all. The thicker the coat, the better the crackle. If you are working on wood such as I did, it is best to base coat your project with an acrylic paint. This way the paint has something to crackle over instead of soaking into the wood. In this case though I wanted a progressively aging effect so I painted one think coat on and let it dry, so in some areas it soaked in and there is no crackle at all and in others it has quite a nice effect to it, as you can see below.
 
Next I covered the outer of the frame in Kaisercraft – Turtle Dove Collection – Baubles. This paper has a glossy embossing effect to it, plus it already has a soft brown edge to it which makes it look like it has been inked.
 
For the inset I used Kaisercraft Turtle Dove Collection – Drummers and Kaisercraft Twig and Berry Collection – December.
 
The poinsettias were a process. I started by using Jumbo Poinsettia by Stampendous and stamped it on xpressit copic paper using black Memento Ink. They were colored with copics. The colors are as follows:
Flower: R24 R27 R29
Leaves: YG93 YG95 YG97
Center: Y15 Y35 YR23
Colorless Blender
 
The flowers were then trimmed and some of the petals cut back to give dimension. I then inked them with Color Box Chalk in Chestnut Roan to give them the rustic burnished edges to create a flow through the project.


Next I used a burlap stocking by Canvas Corp and stitched all around the outer edges with Canvas Corp Red Rope – Hemp Rope. I then glued the stocking with hot glue to the frame. I then added the tags from Kaisercraft Turtle Dove Collection – To Froms and inked all the outer edges with Color Box Chalk – Chestnut Roan. I then hot glued them to the stocking and then hot glued two of the poinsettias.
 
 
Last I added the verse which was taken from Kaisercraft Turtle Dove Collection – Drummers and then I backed the verse in Kaisercraft Twig and Berry Collection – December. I then attached the verse to the frame with pop up dots. The side that drops down into the inset of the frame is a layer of three pop up dots to make the height even with the outer edge of the frame. Then I added my last three poinsettias below the verse with hot glue.


So there you have it, the completed project!


I hope you enjoyed taking the time to view my project as much as I enjoyed creating it!
 
Thank you for stopping by J
Stepheny


Garfield Happy Birthday Card...

Hello all,

It's been awhile since i have posted anything, and I am sorry, but life has gotten in my way a little for the last little bit. Hopefully I can start posting on a more regular basis again :)

Anyway, I recently made this card for my Dad for his Birthday and I thought I would share it with you all. Of course it's done in my copics lol.

 
Coloring
 
 
The finished project...
 
Who doesn't love garfield :) This image just come from the internet. I often use images that are from free onlune coloring books or free clip art. Just look around. It's a nice inexpensive way to have some really great images without having to pay a fortune for a ton of different stamps!!!
 
Thanks for stopping by :)
Stepheny